6 DIY Secrets for Perfect Gallery Walls
Blank walls present a canvas for homeowners seeking a personal touch. Hanging art without a clear strategy can leave your living space looking disorganized. These straightforward secrets will transform your empty surfaces into balanced, eye-catching visual statements.
Curate Your Collection with Intent
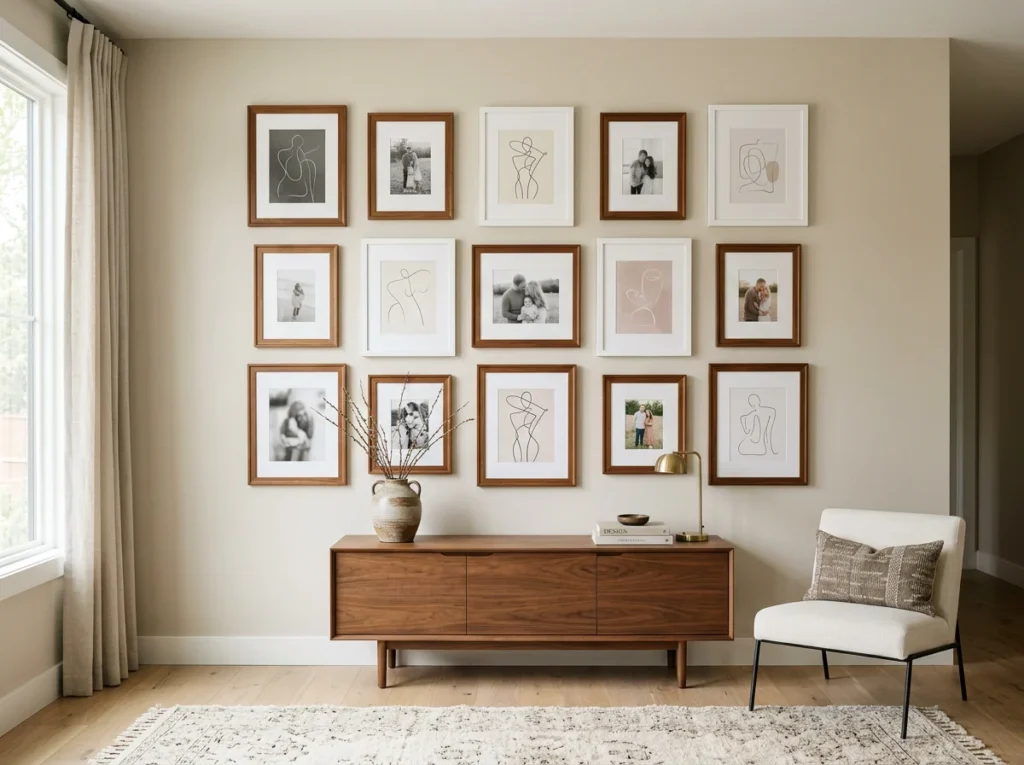
Planning a gallery wall begins with picking pieces that share a common mood or narrative. Working with professional local picture framers turns a mixed pile of prints into a cohesive display. Professional matting pulls disparate styles together without forcing every artwork to look identical.
Laying your artwork flat on the floor before hanging gives you complete visual control over the layout. You can rearrange individual items until the complete balance feels natural. Taking a quick smartphone photo creates a reference blueprint for installation day.
Grouping items by subject matter creates instant harmony in different mediums. Family portraits, vintage travel postcards, and abstract watercolors coexist nicely when unified by matching matting width. Thoughtful curation keeps your collection meaningful and engaging.
Scale Down the Total Piece Count
Overcrowding a wall quickly turns an artistic arrangement into visual clutter. Top-tier layouts feature five to seven pieces total, dropping from the 10 to 15 frames popular in prior years. Trimming your selection creates breathing room around each frame.
Selecting fewer artworks allows each image to attract the attention it deserves. Smaller collections are easier to align and manage during installation. Focusing on quality over sheer quantity produces a refined look that feels calm and thoughtful.
A minimalist grouping works exceptionally well in living rooms and dining spaces. Pair two larger central anchors with four smaller supporting prints.
Position the Visual Center at Proper Height
Hanging pictures too high remains a frequent decorating error in home projects. The middle point of your wall arrangement ought to sit roughly 145 cm off the ground. Positioning art at this level matches human eye height for standard rooms.
When placing a gallery wall above furniture like a couch or console, maintain a 7 to 10 inch gap above the furniture top. The gap prevents the frames from feeling disconnected from the rest of the room setting. It aligns the wall feature directly to your existing seating area.
Taking time to measure from the floor guarantees consistency. If family members vary greatly in height, stick to standard museum heights for optimal viewing. Clear vertical balance instantly makes a DIY project look like an expert installation.
Maintain Consistent Spacing Between Frames
Inconsistent gaps between picture frames create a chaotic layout that distracts the viewer. A display arrangement manual advises starting with two to three inches between adjacent frames and keeping that exact distance uniform across the whole surface. Standard spacing ties various artwork shapes into one cohesive unit.
Using a custom wooden block or dense cardboard spacer makes keeping uniform gaps simple. Hold the spacer between two frames as you mark your hanging points on the wall surface. This technique saves time and removes repetitive tape measure calculations.
Tighter spacing around two inches suits smaller art sets, whereas three inches fits larger canvases. Uniform gaps guide the viewer’s eyes smoothly across the entire collection. Keeping equal borders creates an orderly framework that elevates even modest prints.
Master Paper Templates and Painter’s Tape
Creating full-size paper templates of your frames prevents unnecessary nail holes in your drywall. Trace each frame onto brown butcher paper, cut out the shapes, and label them clearly. Tape these paper cutouts to your wall using painter’s tape to test different configurations.
- Mark the exact hardware hanging point directly on each paper cutout
- Hammer your picture hanging hook straight through the marked paper location
- Tear away the butcher paper gently after the hook is securely fastened
- Check each frame with a small bubble level to verify horizontal alignment
Adjusting tape-secured paper takes seconds, saving hours of patching and repainting misaligned holes. You can step back, assess lighting conditions, and refine spacing before committing to permanent nails.
Mix Frame Textures and Maintain Unified Tones
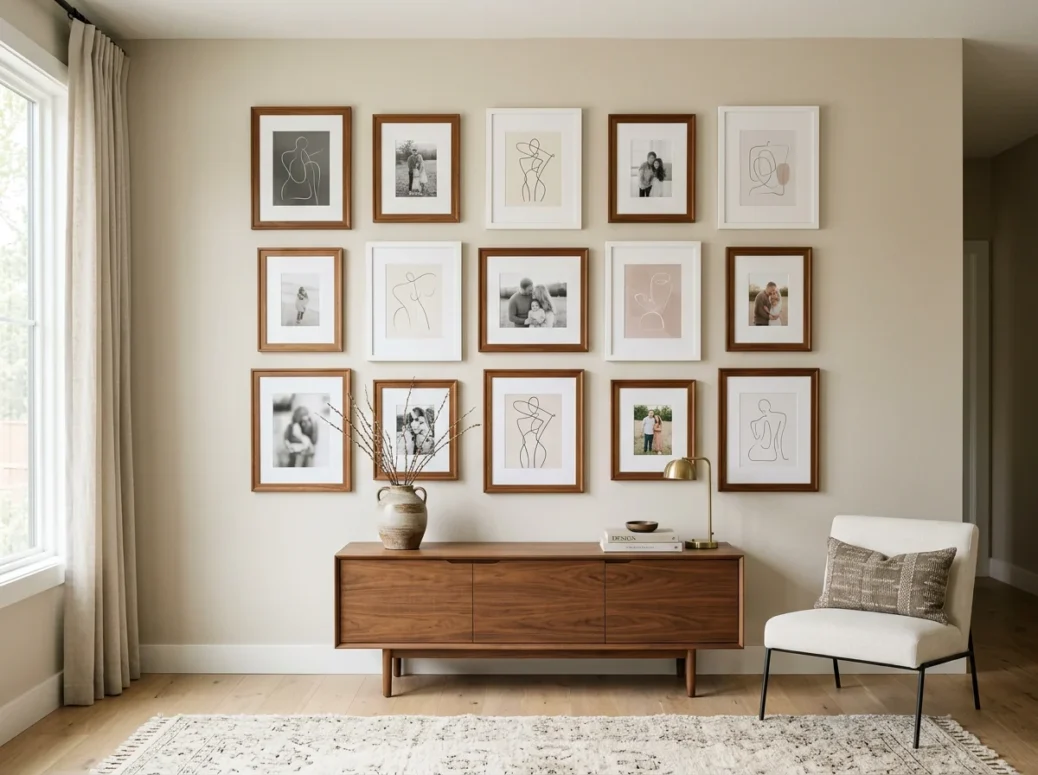
Combining different frame materials creates rich visual depth across your home gallery. Blending natural oak wood, matte black aluminum, and brushed gold finishes gives your wall a curated feel. Keeping a unified color palette within the artwork holds the diverse textures together.
Choosing Complementary Styles
Matching frame matting in identical white or cream tones establishes instant harmony across varied artwork types. White mats generate crisp borders that make dark photographs pop against light wall paint. Deep mats add dramatic depth to small sketches and detailed line drawings.
Rotate artwork styles so similar frame types do not sit directly next to one another. Alternate between dark wood and metal frames to distribute visual weight evenly across the wall grid. Balance geometric photography prints with fluid watercolor paintings for compelling contrast.
Transforming your home walls into a custom art display demands thoughtful preparation and simple measuring tools. Following these six proven techniques keeps your installation stress-free and visually balanced. Take your time during the planning phase, and enjoy bringing new personality to your living space.
- About the Author
- Latest Posts

Lorraine is co-owner of Buggybuddys & Seniorocity and is a mother to two and furmum Cocker Spaniel Storm. Lorraine is also a qualified personal trainer and pilates teacher, once owning her own Yoga & Pilates studio in Perth. She previously lived and worked in London, UK where she worked as Public Relationships and Marketing Manager for several IT companies and worked with some of the largest tech companies in the world including Microsoft, Dell and EMC.