
Ever noticed how a child fiddling with string or LEGO bricks suddenly quiets?
Not magic. Not a miracle. It’s their nervous system saying, “Ahh, finally something I can do with all this energy.”
Wire crafting taps that same mental sweet spot – but with added benefits.
The tactile resistance of wire (especially aluminium, copper, or coated steel) creates just enough feedback to stimulate neural engagement without overstimulating. Think of it like giving the brain a satisfying chew toy – minus the drool.
When children shape loops or twists, they anchor attention in the now, allowing anxious energy to flow through motion (source). It taps into the somatosensory feedback loop – that is, the way touch, tension, and motion signal safety to the nervous system. Compared to free drawing, where outcomes depend heavily on imagination and visual skills, wire sculpting builds internal focus through external resistance. You feel progress with your fingertips. Literally.
Isn’t that exactly what you hope for? A child, fully present, hands busy, stress down.
This reaction isn’t random – it’s a known effect of engaging fine motor systems in bilateral activity (both hands working in coordination), which activates parts of the brain responsible for executive function and emotional regulation. Occupational therapists use similar exercises, though less sparkly. Studies indicate that tasks involving both hand coordination and resistance (like wire manipulation) can increase attention span by up to 37% in children aged 7–12 within 15-minute intervals.
Build a Name Badge Clip with a Twist (Literally!)
Here’s a winning wire project that blends creativity with real-world function – a custom name badge clip that kids can wear on backpacks, pencil pouches, or even clip to their jackets like a badge of honor. It’s a conversation starter and a craft achievement.
Here’s what you need:
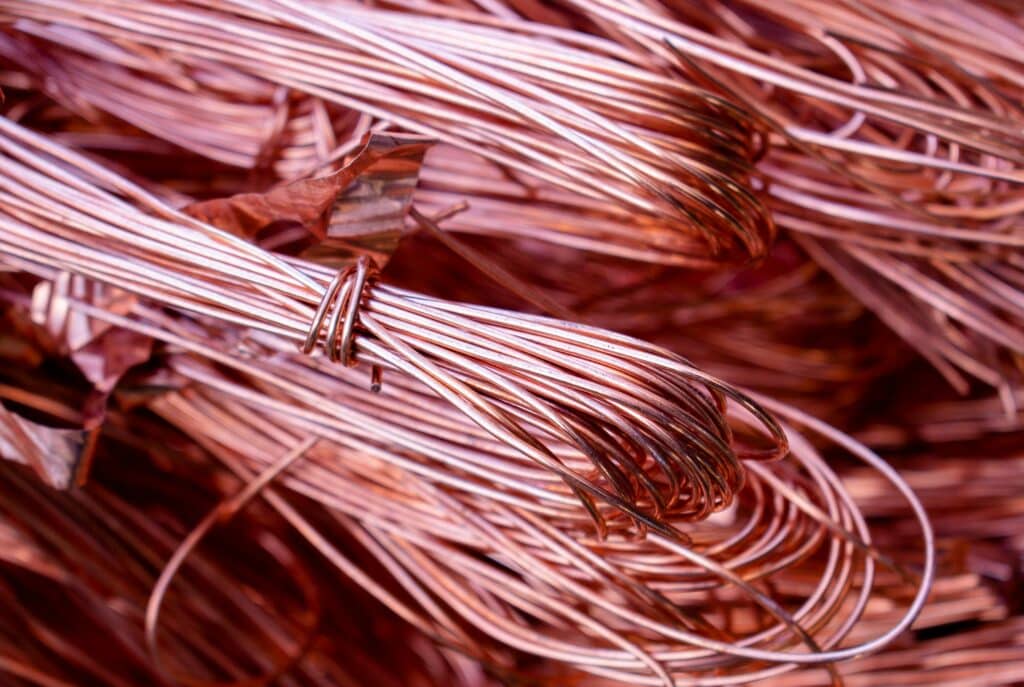
- 20-gauge aluminium or copper wire (about 24–30 inches)
- 1 medium alligator clip or badge clip (spring-loaded works best)
- Beads or buttons for embellishment
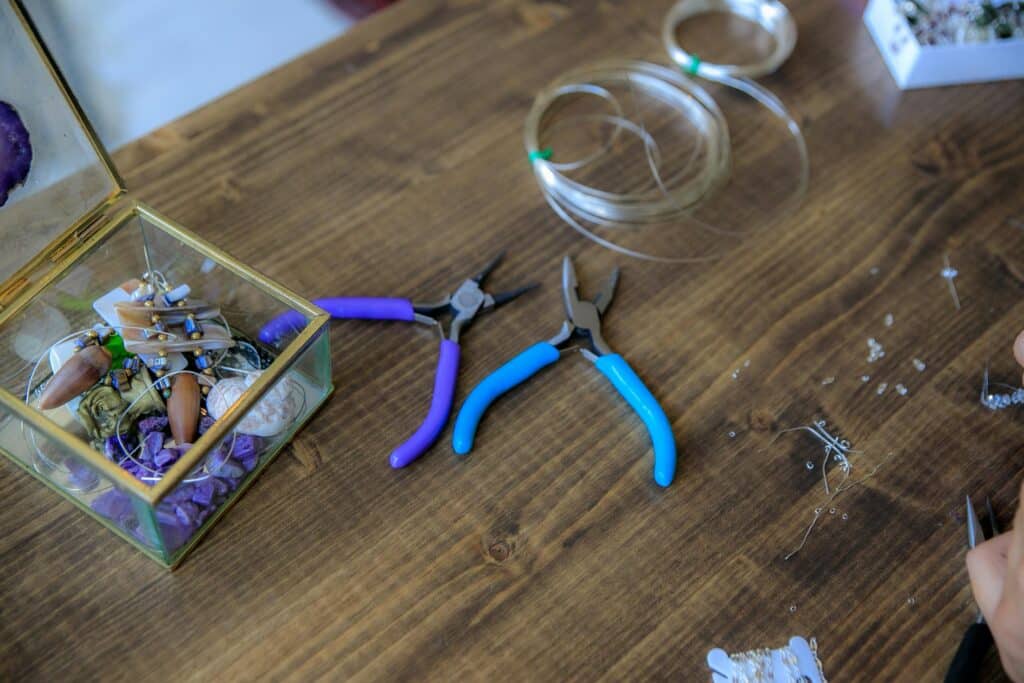
- Round-nose and flat-nose pliers
- Wire cutters (we recommend Maun Wire Cutters)
- Optional: jump rings or key rings
Now, here’s where it gets expert-level: To make crisp, precise bends and grip the clip as you wire it on, proper wire cutters are a dream. Unlike standard pliers, they’re designed for hard wire, so you don’t have to try as hard to cut. For kids working with softer metal, this makes a huge difference in safety and results.
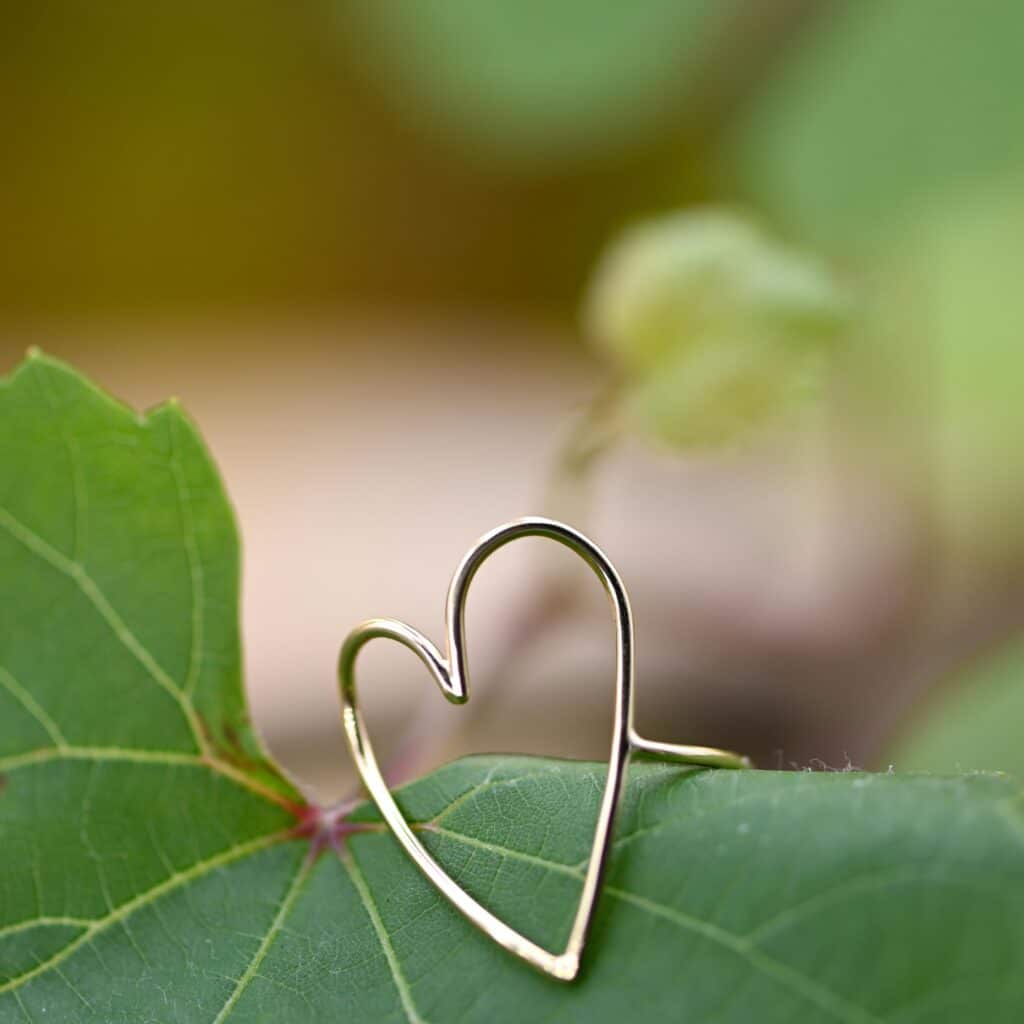
Once the child forms their name (or initials) from a continuous line of wire, you can attach the clip using a wrapped loop technique and secure it with a jump ring. Add embellishments for flair, and voila – practical, personal, and proudly handmade.
This teaches precision and patience, too.
Choose the Right Wire – or Risk Losing the Whole Afternoon
You wouldn’t give a toddler a jackhammer to carve a pumpkin. Same goes for choosing wire. Not all wires behave. Some snap. Others scratch. And a few? They might as well be medieval torture devices.
The secret to early success lies in selecting the right starter supplies. For younger kids or beginners, stick with 18–24 gauge aluminium or colour-coated copper. These wires bend easily but still hold shape. They also come in vibrant, non-toxic finishes that make the project feel more playful and less industrial. Think Crayola, not Cold War-era fuse wire.
- 18 gauge (1.02 mm) is sturdy enough for shapes that need to hold their form, like glasses, rings, or frames.
- 20 gauge (0.81 mm)–22 gauge (0.64 mm) is ideal for most decorative projects – flowers, initials, mini creatures.
- 24 gauge (0.51 mm) is fine and pliable, excellent for wrapping, spirals, and coiling around thicker pieces.
Avoid hardware store galvanised wire unless you’ve tested it yourself – it’s often too stiff or brittle. The coating can flake, causing frustration or even small cuts. Instead, look for soft craft wire spools labelled “dead soft” or “soft-tempered.” You can buy child-safe options with high copper content (up to 99.9% purity) and durable polymer coatings. If it’s good enough for Etsy makers and jewellery artists, it’s good enough for your young sculptors.
Top essentials to begin confidently:
- Aluminium or copper wire (18–24 gauge)
- Needle-nose pliers with spring hinge and rubber grips (5″ or 130 mm is ideal for small hands)
- Flush cutters (cut flush to 0.2 mm tolerance to prevent sharp burrs)
- Masking tape & clothespins (to hold ends without fingers in the way)
- Safety goggles (rated ANSI Z87.1 for group activities to protect against wire snap-back)
Even more pro tip: Pre-cut 18-inch (46 cm) lengths of wire before introducing the activity. This removes hesitation around tools and gives the project a bounded timeframe – no endless tangles, no drama, no wire spaghetti (source).
Material choice isn’t a detail – it’s a doorway or a dead end. Choose wrong, and it’s like giving a kindergartener War and Peace.
Coming next: The single most effective way to teach shaping skills without formal “art lessons.”
Teach Shapes Without Saying “Art Class”: The Loop, Twist, and Spiral Method
Want kids to learn without realising they’re learning? Ditch the “art class” label. It’s like calling broccoli “crunchy trees” – sometimes the packaging makes all the difference (source).
Here’s a secret: Kids don’t need artistic ability – they need simple actions with satisfying results. The goal isn’t to “draw” with wire but to understand tension, symmetry, and balance through movement. Think: yoga for fingers.
Instead of assigning them a “project,” start with wire warmups:
- Make five loops with even spacing (teaches control and rhythm)
- Twist two wires together until it looks like rope (builds bilateral dexterity)
- Spiral the end into a snail shell shape (reinforces rotational planning)
These three movements also form the foundation for more complex patterns:
- Loops become petal structures, antennae, eyes.
- Twists serve as legs, ropes, or structural cores.
- Spirals function as decoration, filler, or joints.
To ensure consistency, suggest using household items like a 10 mm wooden dowel or a standard No. 2 pencil barrel (approx. 7 mm) as guides for loop uniformity. For spirals, a round-nose plier set with graduated diameters between 1 mm and 5 mm allows for nested spirals or concentric detailing.
Keep instructions action-oriented and physical, not visual or perfectionist. Wire crafting isn’t about “how it looks” – it’s about “how it feels to make.” Not every kid is Picasso. Some are MacGyver.
Simple shapes build confidence faster than complex instructions ever could. Think of it as STEM therapy in disguise.
Next, discover how to guide kids toward projects they’ll actually want to finish.
- About the Author
- Latest Posts


